
Following my previous Debian 11 Template post – We will be using a similar procedure to create an Ubuntu 20.04 LTS Template. This guide will be updated to Ubuntu 22.04 LTS after it is released later this year.
You can use a standalone ESXi host, or vCenter server to complete this guide. We will be using vCenter for our example screenshots. This guide is written based on ESXi/vCenter 7.0, but should work on all other supported releases (6.5/6.7). You could also use the popular Windows/MacOS based VMware Workstation/VMware Player to follow these instructions with some adaptation, but this guide will focus on ESXi/vCenter.
Prerequisites
- VMware ESXi Host (with or without vCenter) with at least 2 GB RAM and 35 GB storage free
- Ubuntu 20.04 Server ISO (https://ubuntu.com/download/server)
- Select “Option 2 – Manual Server Installation”
- Select “Download Ubuntu Server 20.04.3 LTS”*
- SCP client such as WinSCP (https://winscp.net/eng/download.php)
* Ubuntu Server 20.04.3 is the current build of Ubuntu 20.04 LTS at time of writing. The revision number (.3) may change in a future release
Create the Virtual Machine (VM)
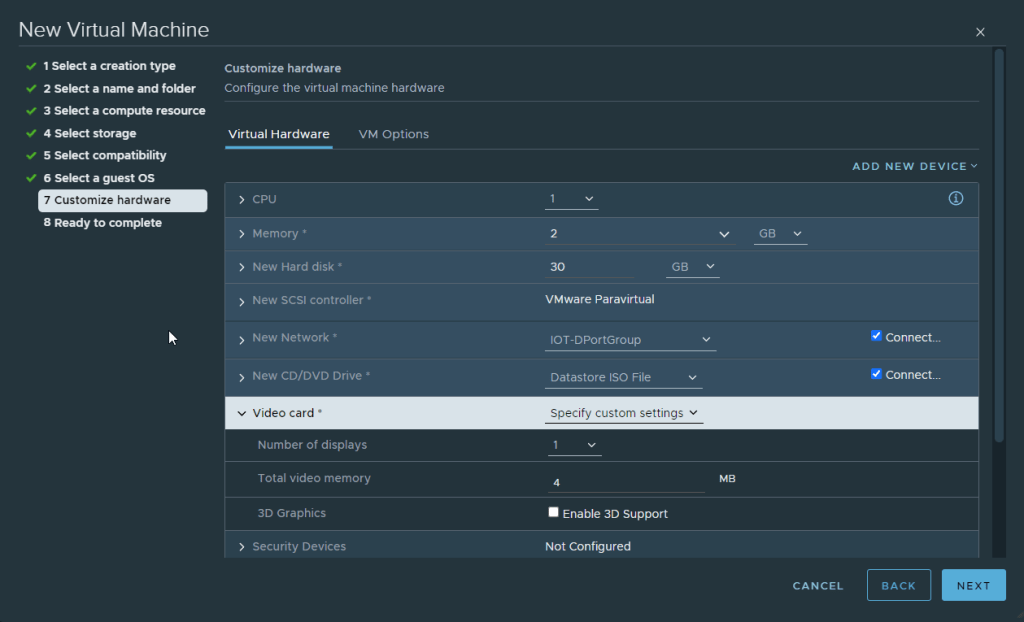
VM Specifications Screen
- Log in to your vCenter or ESXi host
- Upload the Ubuntu 20.04 ISO to a datastore on your host
- Create a new VM with the following specifications:
- Virtual machine name: Ubuntu20.04-Template
- Guest OS Family: Linux
- Guest OS Version: Ubuntu Linux (64-bit)
- 1 CPU
- 2 GB Memory
- 30 GB Hard Disk (Thin Provision)*
- SCSI Controller: VMware Paravirtual**
- Network: Any port group with internet connectivity (preferably DHCP enabled)
- Video card: Default settings -or- see below for hi-res displays***
- CD/DVD drive: Select “Datastore ISO File” – browse to Ubuntu 20.04 ISO uploaded previously and tick the box for “Connected”
Note: The above CPU/Memory/Hard Disk are a recommended minimum. You may choose to increase (or decrease) these as you see fit in your template based on your environment’s needs/resource constraints.
* Thin provisioning is not the default (Except in NFS storage) and must be selected manually by expanding “Hard Disk 1” and using the dropdown menu
** Expand “New SCSI controller” and use the dropdown menu to change type to Paravirtual
*** 4 MB video memory allows for resolutions up to 1360×768 which is enough for most use cases. If you want to use a GUI with high resolution you can increase this to 8 MB (resolutions up to 1600×1200), 16 MB (resolutions up to 2560×1600) or higher.
Configure the VM


Step-By-Step Screenshots of Install Process
- Power on the VM and connect to Console
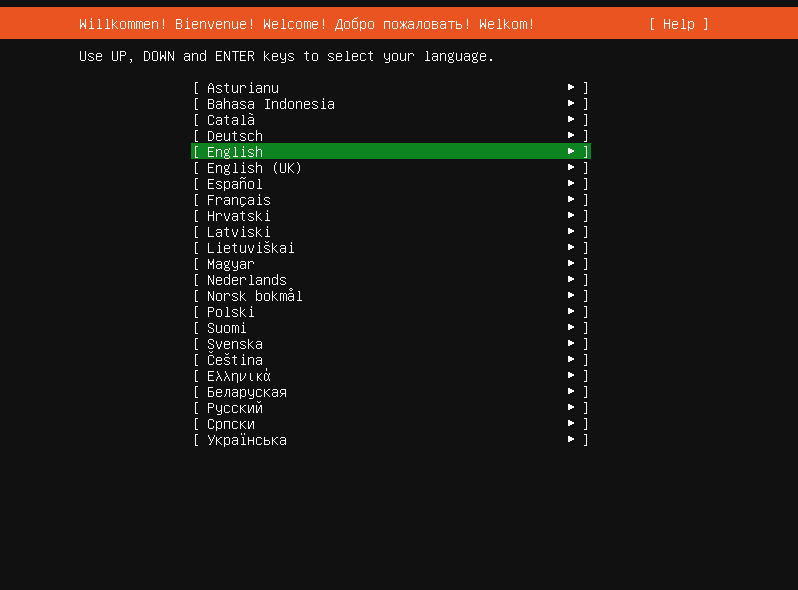
- Select English (or your language of choice)
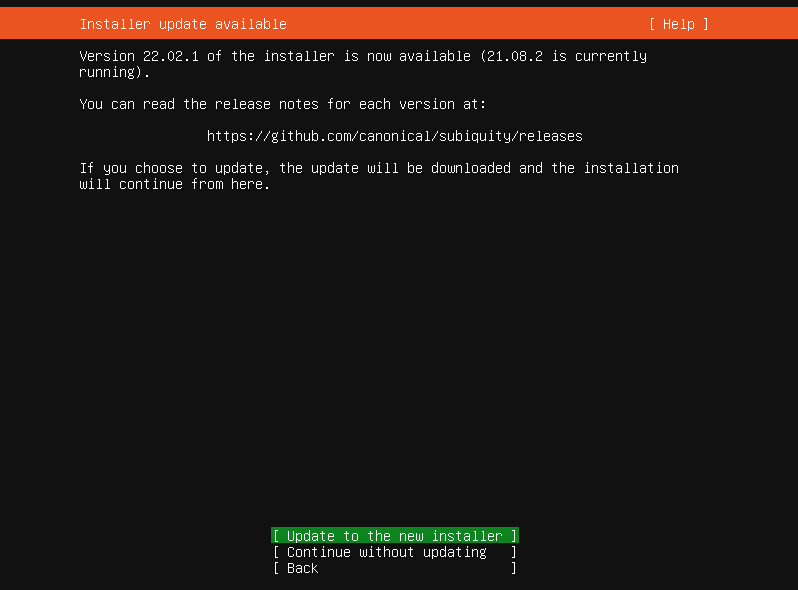
- Select “Update to the new installer” if this screen appears
- Select “Done” to accept default or change keyboard layout/variant to match your region
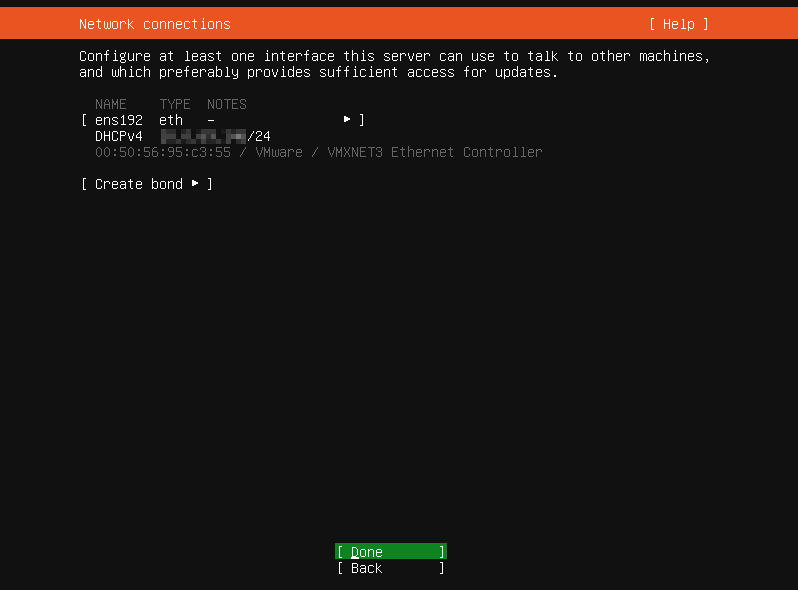
- Select “Done” if using DHCP and an IP address is successfully displayed above
- If DHCP not available:
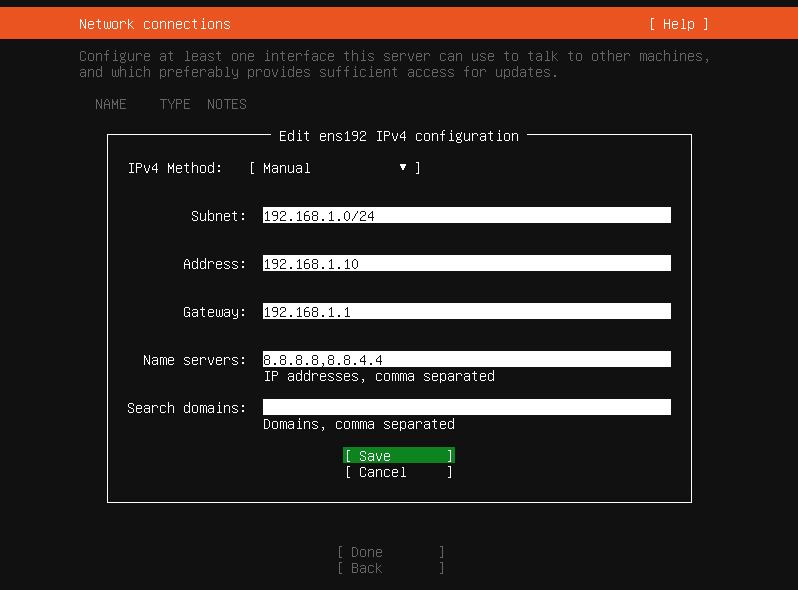
- Select “ens192” -> Edit IPv4 and change dropdown to “Manual”
- Enter desired subnet in CIDR format (Ex: 192.168.1.0/24)
- Enter desired IP address
- Enter gateway
- Enter DNS servers (Comma separated format – Ex: 8.8.8.8,8.8.4.4)
- Select “Save” -> “Done”
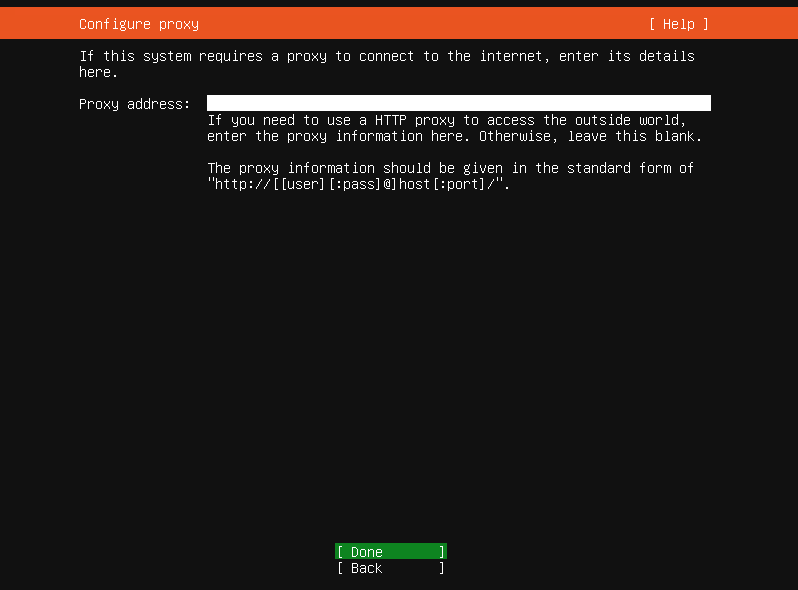
- Select “Done” to skip adding a proxy server (Unless your network requires it)
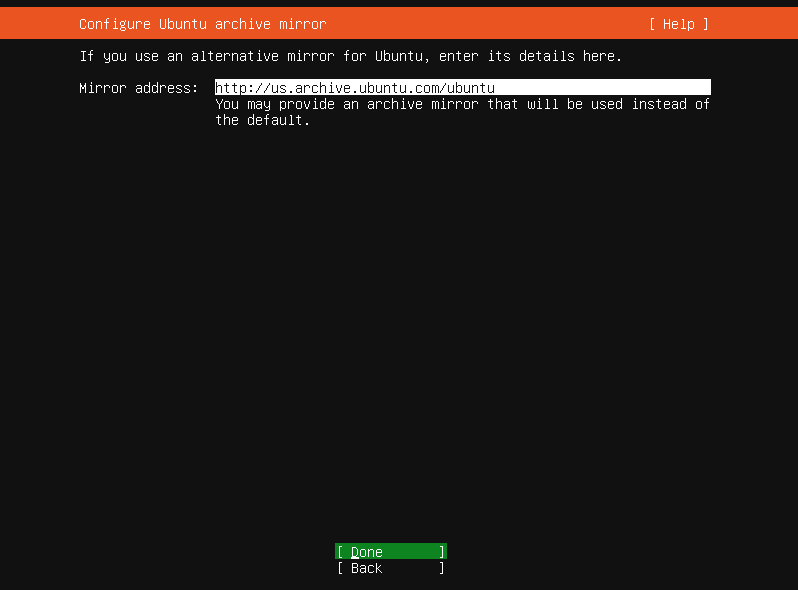
- Select “Done” to accept default mirror
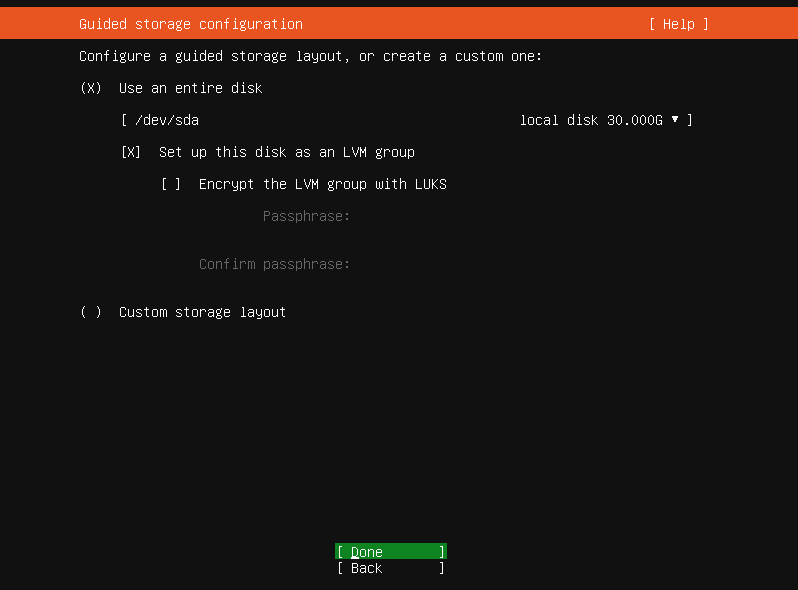
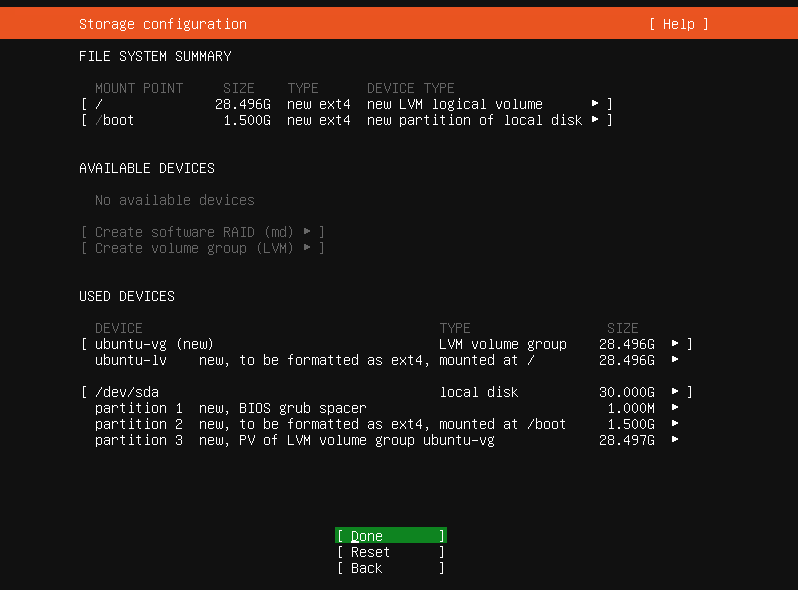
- Select “Done” to accept default storage layout
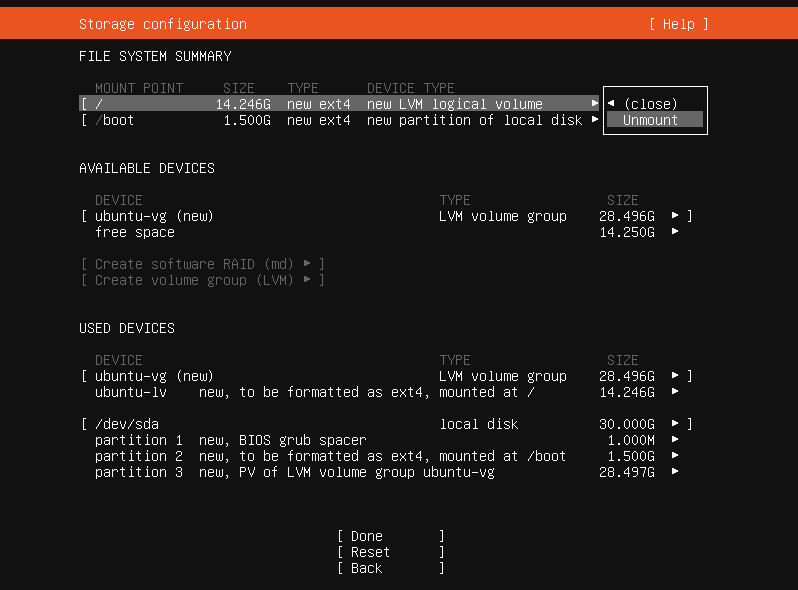
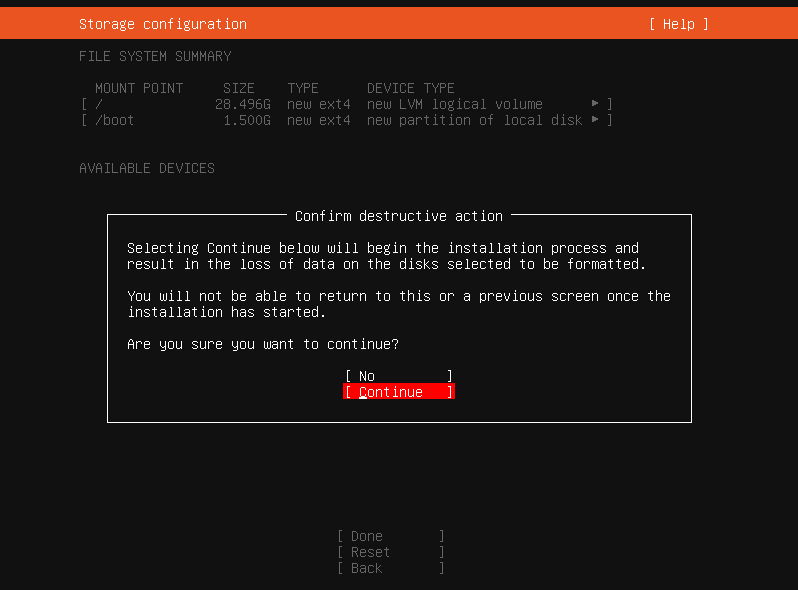
- On the Storage Configuration screen:
- Select the “/” mount point and then “Unmount”
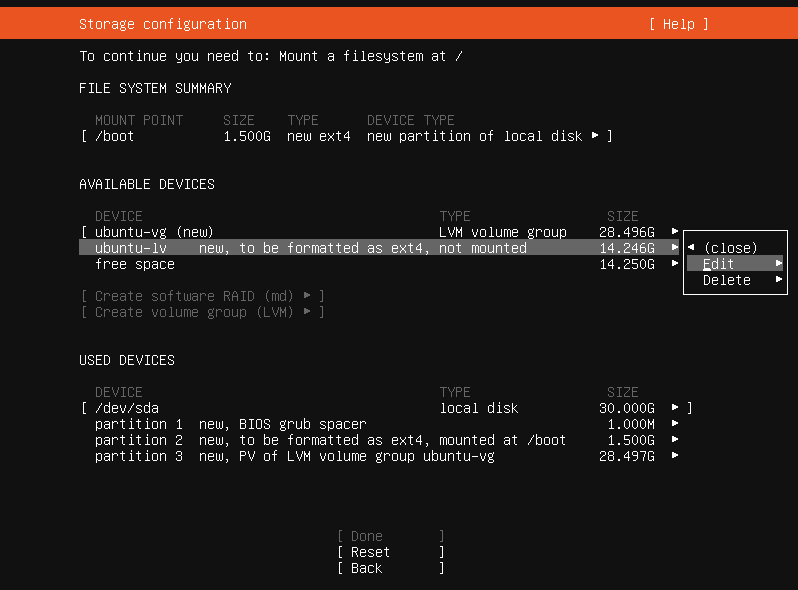
- Select “ubuntu-lv” and then “Edit”
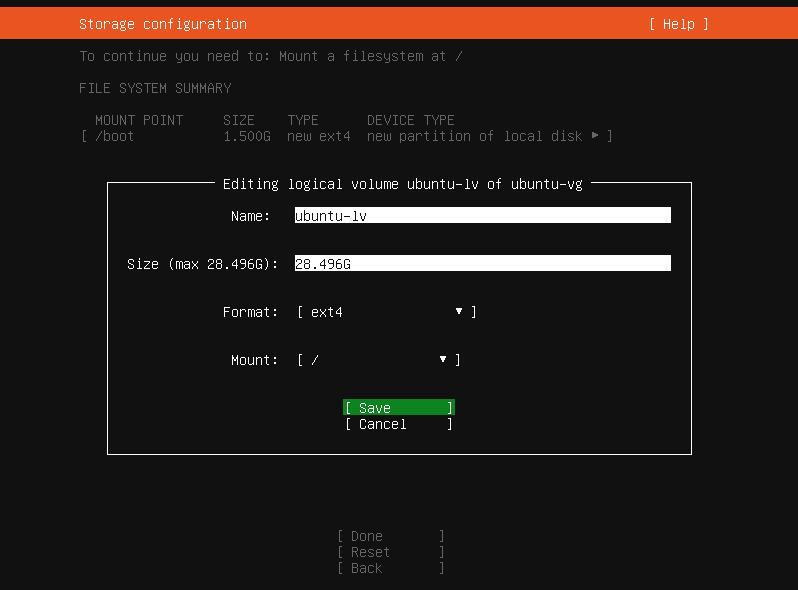
- Change Size to 28.496G (Or the listed max if you gave your template more than 30GB)
- Change Mount dropdown to “/”
- Select “Save” -> “Done” -> “Continue”
- On the “Profile setup” screen enter the following:
- Your name: ubuntu
- Server name: localhost
- Username: ubuntu
- Password: ubuntu
- Select “Done”
- Select “Done” to skip adding an Ubuntu Advantage token (unless you have one)
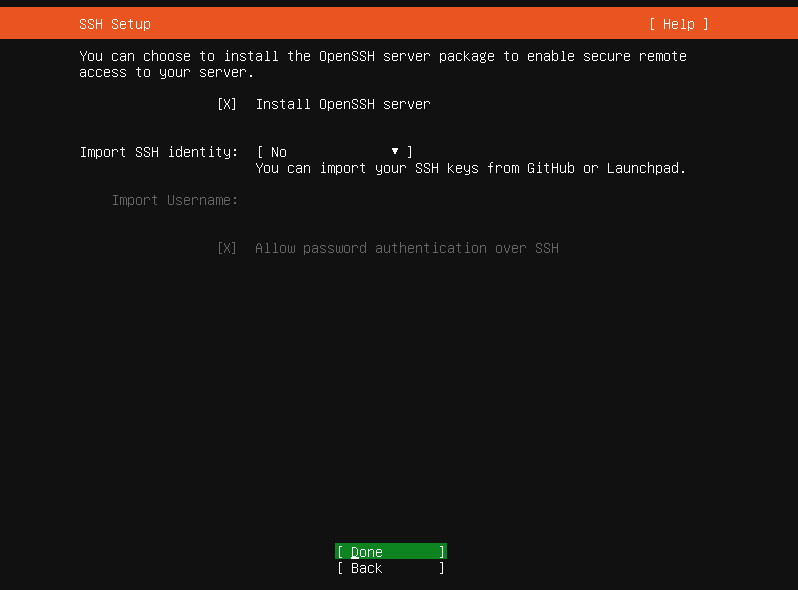
- Tick the box to Install OpenSSH server and select “Done”
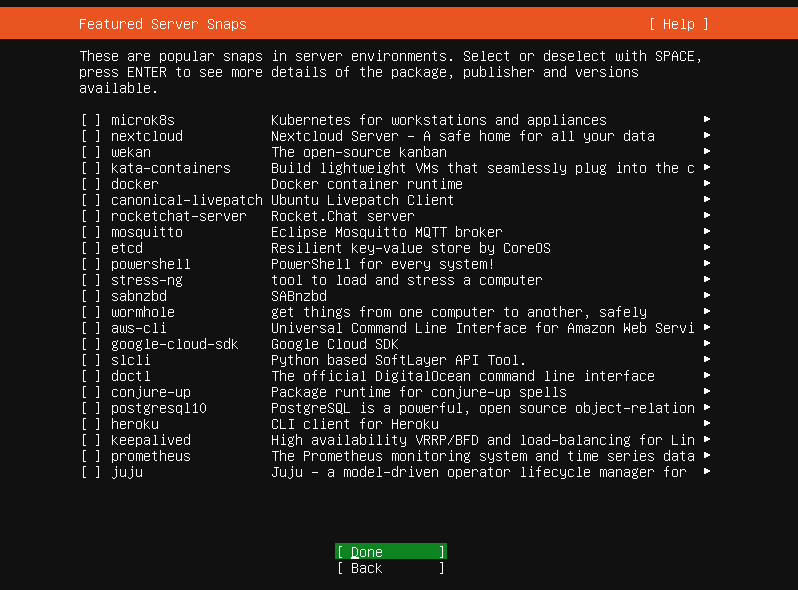
- Select “Done” to skip all optional packages
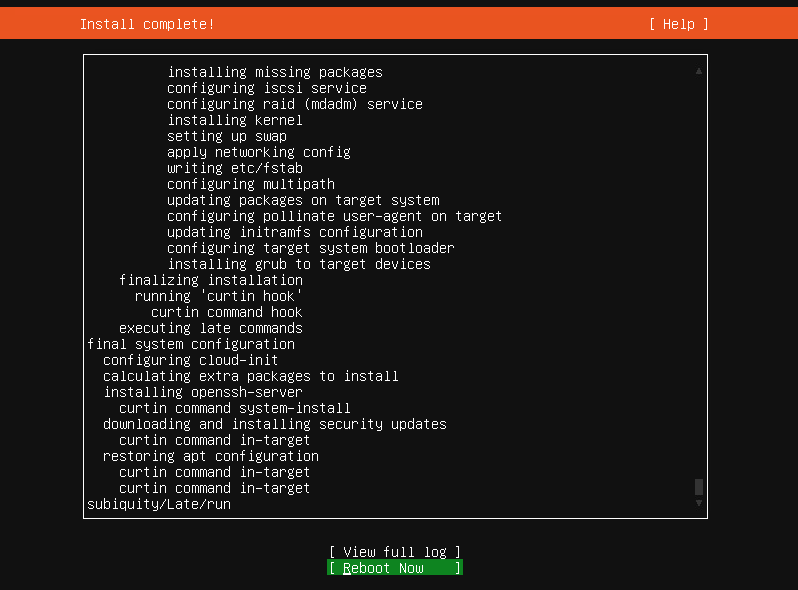
- Wait for update process to finish (“Cancel update and reboot” changes to “Reboot now”)
- Select “Reboot Now”
- When asked to remove installation medium, return to vCenter and change the CD/DVD drive of the VM back to “Client Device”
- Return to the VM console and press Enter to reboot
Update and Generalize the VM
Ubuntu 20.04 LTS is now installed on your Virtual Machine.
After a few moments the system will start up and prompt you for a username and password – use the credentials we set up during install (user: ubuntu / pass: ubuntu)*
* If you do not see the login screen immediately, try logging in by typing ubuntu twice (pressing enter after each) as the screen may simply have failed to clear after first-time setup. If this does not work, the screen should clear afterward and show you a login prompt
Run this command to get your server’s IP address:
ip address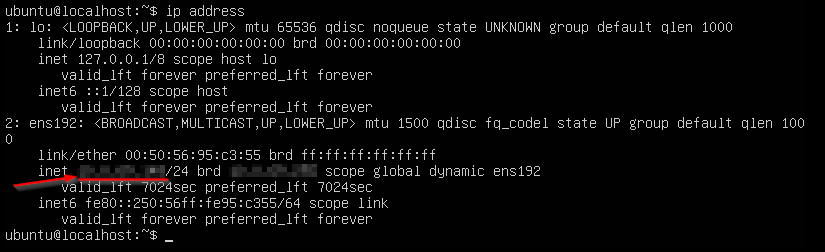
Output of “ip address” command
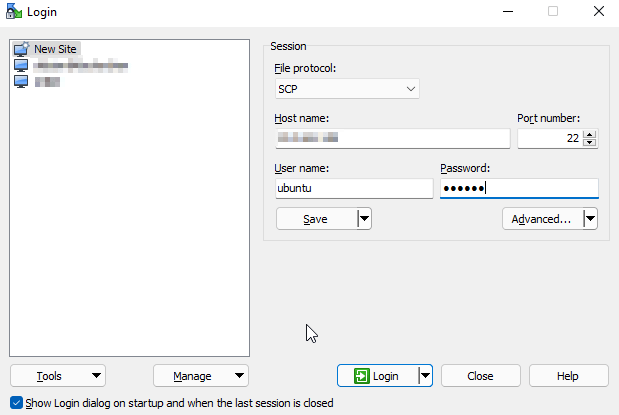
Open your SCP client (I am using WinSCP) and enter the following:
- Host name: IP Address obtained above
- User name: ubuntu
- Password: ubuntu
Select “Yes” when prompted to accept the host key
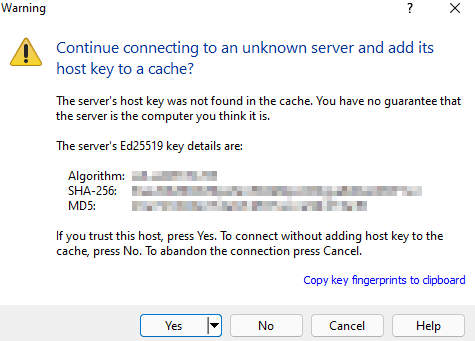
Screenshots of SCP Process
Download and unzip the “scripts” folder to your computer from the following link:
Disclaimer: These scripts are not meant to be run on existing Linux installations and may have unpredictable or undesirable behavior in those environments. Scripts are provided as-is with no implied warranty. As with any script or automation, it is recommended you review the contents and familiarize yourself with what each script does. There is also an outline of the functions of each script included in the “Extras” section below.
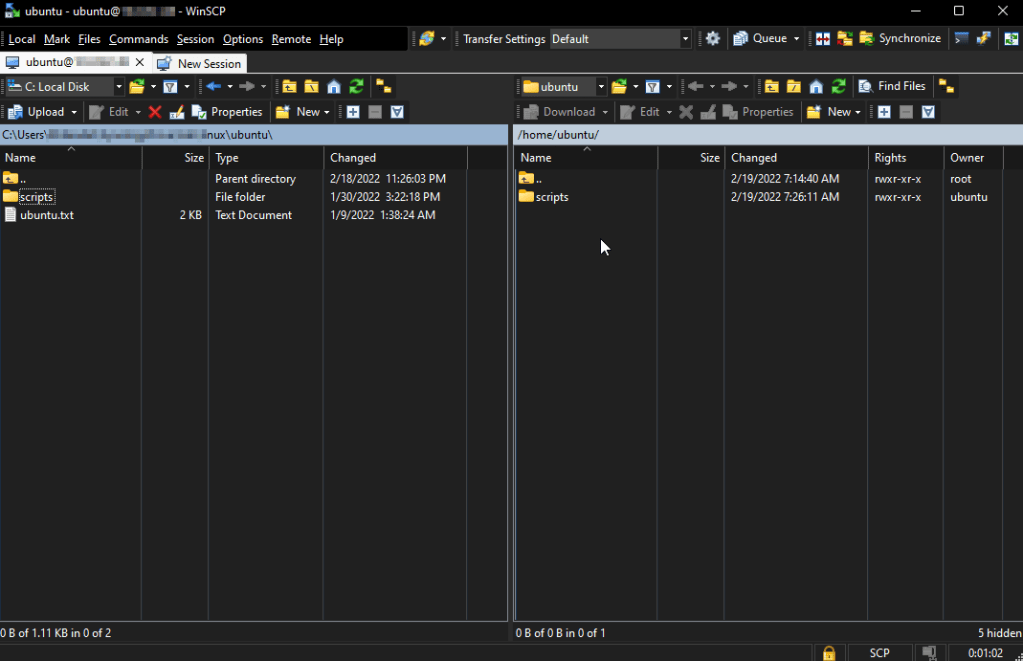
Use SCP to transfer the “scripts” folder to the home directory on your VM (/home/ubuntu)
The scripts folder contains 4 files:
- readme.txt
- ubuntu-prep.sh
- gui-ubuntu-prep.sh
- updates.sh
readme.txt (cat ~/scripts/readme.txt) provides descriptions and instructions for updates.sh and gui-ubuntu-prep.sh
ubuntu-prep.sh is the first script we will run and prepares the VM to be used as a template.
gui-ubuntu-prep.sh is an optional script which installs a Desktop Environment/GUI (Graphical User Interface) it should only be run *after* deployment, not as part of templating
updates.sh updates the server operating system and installed packages
Return to the VM console and run the following commands:
chmod +x ~/scripts/ubuntu-prep.sh
sudo ~/scripts/ubuntu-prep.sh
When the “Configuring cloud-init” screen comes up, un-tick all data sources except “None: Failsafe datasource”

Cloud-init configuration screen
Once the process completes, the VM will be shut down to complete the templating process.
Finalize the Template
In vCenter – right-click the VM and select Template > Convert to Template to mark the VM as a template
Use the template to deploy new Virtual Machines by right-clicking and selecting “New VM from this Template…”
Post-Deployment
Once deployed, you may update the server by using the following commands (chmod is only necessary first time):
chmod +x ~/scripts/updates.sh
sudo ~/scripts/updates.sh
If you wish to add a Desktop Environment/GUI to the server:
chmod +x ~/scripts/gui-ubuntu-prep.sh
sudo ~/scripts/gui-ubuntu-prep.sh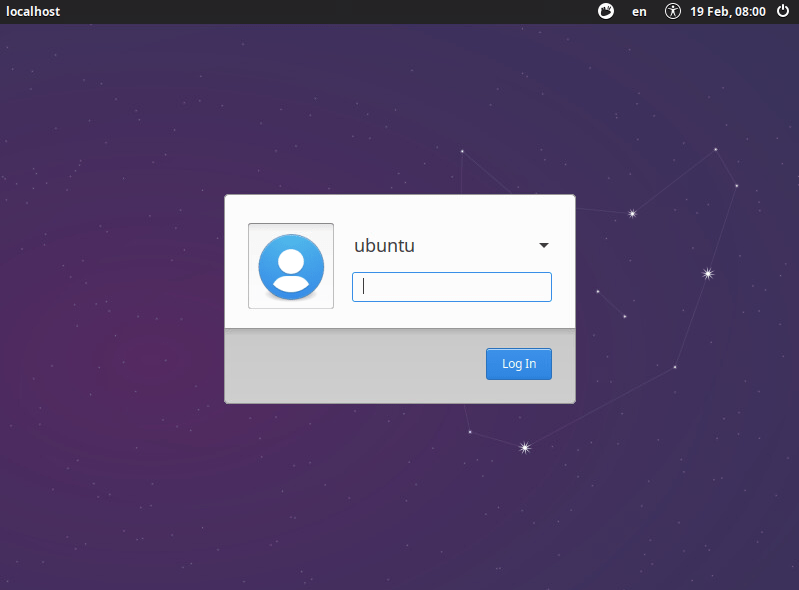
Login screen after running gui-ubuntu-prep.sh
Extras:
What does ubuntu-prep.sh do?
- Deprovisions and removes Cloud-Init*
- Creates basic network config(/etc/netplan/01-netcfg.yaml)
- Adds VMware-specific multi-pathing fix to prevent erroneous system log entries
- Installs updates and basic packages
- Clears Machine-ID to be regenerated at next boot**
- Clears DHCP info
- Sets default user (ubuntu) password to expired***
- Clears command history
- Shuts down VM to complete templating process
* Cloud-init can be used to automatically configure Linux in hosted/development environments but is generally not necessary for most use cases
** Machine-ID is generated if missing at boot. This should be unique for each VM, and must be cleared again (Re-Generalize instructions below) if template is booted up for future updates
*** At first boot, user “ubuntu” will need to set a new password. This is forced for security purposes
What does gui-ubuntu-prep.sh do?
- Updates the operating system and packages
- Installs Xubuntu (Xfce4) desktop environment and additional plugins
- Installs graphical text editor (Geany) and web browser (Firefox)
- Removes unnecessary packages
- Removes unnecessary icons from panel (taskbar)
- Self-deletes and reboots server to complete install
How to Re-Generalize the Template
If you need to boot the template to perform updates or make other changes, you will need to Re-Generalize to prevent Machine-ID overlaps and remove any sensitive command history. Once you are finished with your changes run the following commands before converting back to template:
sudo -i
truncate -s0 /etc/resolv.conf
truncate -s0 /etc/machine-id
rm /var/lib/dbus/machine-id
ln -s /etc/machine-id /var/lib/dbus/machine-id
truncate -s0 ~/.bash_history
truncate -s0 /home/ubuntu/.bash_history
shutdown -h now
One thought on “Ubuntu 20.04 Template”